Digital currency exchanger rating

How to Choose The Right Chopping Board


The Chopping Board is a tool you use in the kitchen for cutting, chopping, and preparing food on.

When buying a new board, there are lots of selections to choose from – wood, plastic, marble, and glass. And it can sometimes be confusing.
OXO Good Grips Cutting Board, Blace 7.5-inch by 10.5-inch

Marble and glass and cutting boards may look nice but they dull your knives faster. The hard surface can also damage its edge. It is best to use the glass and marble boards only for serving food.
White Marble 18" Pastry Board
When it concerns wood and plastic boards, even experts have differing opinions as to which one is best. It boils down a person’s to personal preference.
Acacia Thanksgiving Turkey / Roasted Meat Cutting and Serving BoardMountain Woods 15-by-12-Inch Butcher Block Cutting Board

Wooden boards are typically heavier and have a lesser tendency to slip. They also look more attractive that’swhy they can be used to serve food. Plastic boards on the other hand, weigh lighter, come in different colors, and some are dishwasher safe.
Ironwood Gourmet 28218 Acacia-Wood End-Grain 14-Inch Chef's Board
Whatever chopping board you use, it is a must that you clean it well. Bacteria can easily breed on your board and may even cause food poisoning. Make sure to scrub your chopping board very well with hot water and detergent after every use. Let it dry thoroughly before using it again. Having more than one board is ideal in order to avoid cross contamination of the food. Use a separate one for raw meats and a different one for other type of foods.
 Safe4All(TM) Four Color Coded Cutting Boards with Storage Case
Some have color-coded boards:
  • Red – Raw Meats
  • Blue – Seafood
  • Yellow – Poultry
  • White – General
  • Green – Fruit and Vegetables
Also check the condition of your chopping board.  If you notice that your board is beginning to appear worn out, then it may probably be time to get a new one. By this time, you are more informed to pick out the suitable one for you.
Epicurean 15-by-11-Inch Non-Slip Gripper Cutting Board, Slate with Grey Silicone Grippers


Simple Tips on Making Quick Breads


Quick breads are classic favorites for many. A few recipes for quick, non-yeast loaves are provided in most general cookbooks, and even most baking books. Using and changing these recipes frequently may give you some creative flair. Here is a simple and delicious way to make quick breads.
Campfire 4-Slice Bread Toaster (Foldable)
Since few of these batters demand kneading or time to rise, most loaves are ready for the oven in just 10 to 15 minutes. Mixing time is short, in part, due to the cardinal rule regarding quick breads is: Do not overmix. Overmixing makes for tough breads. Mix batters using a wooden spoon or rubber spatula fair enough to combine the wet and dry ingredients. The presence of some lumps is ok. Food processors, electric mixers or blenders don’t create good quick breads.
Quick and Easy Breads for Gluten-Free Cooking
Equipment essentials are as simple as the mixing rule. A couple of bowls, a wooden spoon, measuring cups and spoons and baking containers are all that are necessary. A wire whisk is a convenient time-saver.
Zyliss Quick Blend Whisk
Most recipes were really designed to occupy one or two roughly 9 x 5-inch loaf pans. The one used for this is closer to 8 l/2 x 4 l/2 inches but it won’t make any difference. Do not be turned off by pan sizes.
Simply Calphalon Nonstick 6-Piece Bakeware Set
Any type of oven-proof casserole, pan, or bowl will work. Naturally baking times will differ, as they do in different ovens after all, so have a tester handy. As soon as it comes out clean when entered in the center of the loaf, and the bread starts to pull away somewhat from the sides of the pan, the bread is already done.
Norpro 6 Piece Porcelain Ramekin Set
You can be more adventurous and experiment with casseroles, au gratin dishes and small ramekins. There are some who have baked successfully just using one-cup porcelain ramekins. The small round loaves these containers create are quite an interesting change and just about enough for one hungry person.
Cook-Rite 60-Minute Quartz Timer, White
You are encouraged to watch diligently the first time and create a note of the real time expected when bread is baked in a certain pan size. Not just for the pan size, but the material of which the pan is made of, greatly affects the baking time. The times you see here are just estimates and are meant to serve only as a guide.

1-cup porcelain ramekin - 15 to 20 minutes

3-cup au gratin dish or pie - 15 to 20 minutes

5 l/2-inch x 3-inch loaf pan - 30 to 40 minutes

1-quart casserole - 40 to 50 minutes

9-inch x 5-inch loaf pan - about 1 hour


Copyright © 2011 Athena Goodlight

Protected by Copyscape DMCA Copyright Detector

Auntie Ann's Pretzels Recipe

3 cups regular flour
1 cup bread flour
1 1/2 cup warm water
2 Tbs. brown sugar
1 1/8 tsp. active yeast (1 1/2 pkg)
1 1/8 tsp. salt
To taste coarse salt
2−4 Tbs. butter (melted)

2 cups warm water
2 Tbs. baking soda


Sprinkle yeast on lukewarm water in mixing bowl; stir to dissolve. Add sugar, salt, and stir to dissolve; add flour and knead dough until smooth and elastic. Let rise at least 1/2 hour.

While dough is rising, prepare a baking soda water bath with 2 cups warm water and 2 Tbs. baking soda. Be certain to stir often.

After dough has risen, pinch off bits of dough and roll into a long rope (about 1/2 inch or less thick) and shape. Dip pretzel into soda solution and place on greased baking sheet. Allow pretzel to rise again. Bake in a

450 degree oven for about 10 minutes or until golden. Brush with melted butter and enjoy!

Toppings:

After you brush with butter try sprinkling with coarse salt.
Or for Auntie Anne's famous cinnamon sugar, try melting a stick of butter in a shallow bowl( big enough to fit the entire pretzel) and in another bowl, make a mixture of cinnamon and sugar. dip the pretzel into the
butter, coating both sides generously. then dip again into the cinnamon mixture.


Pacific Northwest Ice Wine

While it is a known fact that various types of wine can be bought at any wine store, one of the rarest is the ice wine. Ice wine is a very rare type of wine, that is can only be produced under specified types of temperature conditions. Ice wine is principally produced in the Pacific Northwest region, where the weather conditions are perfect for this type of wine.

To produce the ice wine, only the finest qualities of grapes are chosen. Because of its scarcity, the quantity produced is very small. This makes the product extremely rare. The price is so expensive that only a prosperous few are able to buy the wine.

Comparable to the bliss of owning a diamond, experiencing a drink of ice wine is something that a lot of of us may only hope and dream of at some point in our lives. Apart from the rarity of the ingredients, even more crucial are the weather conditions in the production of this wine. Once the correct weather conditions arrive, the wine maker gets himslef ready to produce this very rare and priceless wine.

image via Wikipedia
The primary requirements needed to create ice wine are fully ripened grapes and a 5 degrees C. temperature which needs to be maintained for several days until the wine maker completes the wine-making process. During these extremely cold temperatures, when grapes have frozen, the wine maker and his assistants hand picked them at night.

Full vine grapes are needed in order to produce a bottle of ice wine. After the grapes are collected, they are pressed gently, in order to gather the running juice only. As the temperature produces the frozen water crystals, fermented along with particles and sugars that are present in the free running juices the marvelous and rare ice wine is created.

If you have been wishing to try ice wine, obtaining it may be quite difficult. Most wine stores don’t have this in stock. It can be difficult to find it online as well, unless you are lucky enough to chance upon it at the right time. It can easily cost you hundreds or thousands of dollars for just a single bottle.


If you are really serious to acquire ice wine, it is best to find the right winery in the Pacific Northwest region. Although the bottles may run out of stock extremely fast once they have been made, you may possibly meet a wine maker with a few on hand. Just be prepared to spend a hefty sum though. Extremely expensive and very difficult to find - just the mere taste of ice wine makes it well worth every penny and effort.

© 2010 Athena Goodlight 

Protected by Copyscape Original Content Checker

A Beginner's Guide to Wine Tasting Events

Attending wine tasting parties and events, or joining wine clubs can be a fun and stimulating experience, although many people would just shy away from attending such functions out of fear - or for lack of knowledge on what to do or what to anticipate. There are no hidden mysteries to wine tasting; however, there are several things that you must keep in mind when attending these functions.

It is customary to serve women before men during wine tasting events. In some events bottled water are served between samplings, to clean your mouth out and to be ready to taste the next wine served. When taking the wine, always handle the glass by its stem, to avoid warming it with your hands. Normally, crackers and other delicacies are served as well, to help you clear your mouth and as an additional enjoyment to the palate in between wine tastings.

It is easy to recognize the wine typically by the color. When you attend a wine tasting party for the first time, you’ll observe that the glasses are crystal clear. This helps you to see the wine better. It is also a standard that a white tablecloth is used on the table, too. This also helps you see the wine’s color more distinctly. You should never judge a wine by the name alone, for it may easily fool you.

You will also observe the more experienced wine tasters slightly swirl the wine in the glass before they sample it. The slight swirling actually helps bring out the true flavor. Most wines are aged in bottles for long time periods, some for many years. The swirling releases the flavors in the wine and brings them out as the wine is tasted.

In wine tasting events, you will need to look at the wine, smell it, then after swirling it in the glass - taste it. The aromas play an important part of the process, because you’ll enjoy the wine better by smelling it first. The intriguing aroma of the wine stimulates you to enjoy the taste that wine is known for. After smelling the wine, you should allow a few moments to absorb the aroma and to think about the wine that you have smelled.

Finally you will need to know how to taste the wine properly. Your tongue has taste buds all over to help you to recognize flavors. Because wine bursts with flavors, the way you taste it makes the greatest impact. When the wine reaches your mouth, swish it around in your mouth for a couple of seconds, and give the flavors enough time to play on your palate. Once your taste buds begin to discover the wine, you may think about what you are sampling. After the wine is swallowed, the aftertaste that stays in your mouth familiarizes you even more to the kind of and flavor of the wine.

Prior to attending a wine tasting event, try to learn as much as you can about the many flavors and types of wines. By doing this, you’ll have a broader understanding of what you should look for in both aroma and flavor. Even though you may be a novice at wine tasting, you need not pass up an opportunity when it arises. You’ll get to experience the exciting world of wine tasting and get to know wines and flavors that you may have never even heard of before.
© 2010 Athena Goodlight

Protected by Copyscape Original Content Checker

Tips on Serving and Pairing Wine with the Right Food

The flavorsome food matched with the depth of the perfect wine is absolutely amazing. With the availability of wine in different varieties and range of prices these days, there is no excuse to miss this palatable experience with food and wine. Here are some basic things you should remember to make food and wine pairing more enjoyable whether in a restaurant or at home.

It is safe to put hearty food such as stews and casseroles with full-bodied reds, and more subtly flavoured food with lighter wine. You don’t need to stick to the strict rules about chicken and fish being served with white wine and red meat with reds. You must instead consider the whole dish – if a chicken is served in a rich buttery sauce it might be better suited to a red Burgundy than a white wine.

If you plan on bringing a bottle of wine to a dinner party and you’re unsure of the menu, go for lighter wines such as Chablis, Muscadet, or a delicate Riesling, or light reds such as Valpolicella or a young fruity Pinot Boir. I personally favor bringing Muskat red wines to friends’ houses – a bold yet sweet choice; but then, taste can be cultural. It is just proper to bring something, especially if it’s a house dinner. Similarly if you are catering for a party, choose lighter wines such as Sancere, Sauvignon Blanc, Beaujolais, and Valpolicella. Allow half a bottle of red per person and a little more for white. In summer, trade Champage for a more economical bubbly such as Prosecco or Cava, and allow half a bottle per person.


WINE PARTNERS

Beef
Dense reds such as Cabernet Sauvignon, Bordeax, and Barolo go well with roast beef; spicier reds such as Shiraz, Grenache, and Amarone are all good partners for hearty stews.

image source
Lamb
Red Boreaux or Merlot are good overall choices, but for lighter lamb dishes choose a young Pinot Noir. If you are serving offal, partner it with a Barolo.
Pork
Beaujoais goes brilliantly with roast pork and cassoulet, although more full-bodied reds such as Shiraz mix well with sausages, while Chablis is a good choice for cooked ham.
Chicken
Roast chicken can be served with Chardonnay or a white Bordeaux, but for heartier stews, choose a light Italian red such as Chianti or a Merlot.
Game
Pinot Noir, red Burgundy, and Merlot are all good matches for game, although fuller-flavoured game dishes such as stews would be best with a full-bodied red such as Cabernet Sauvignon. More delicate game can be served with a lighter red, such as a Côtes du Rhone. For pheasant, try a dry Pinot Gris.
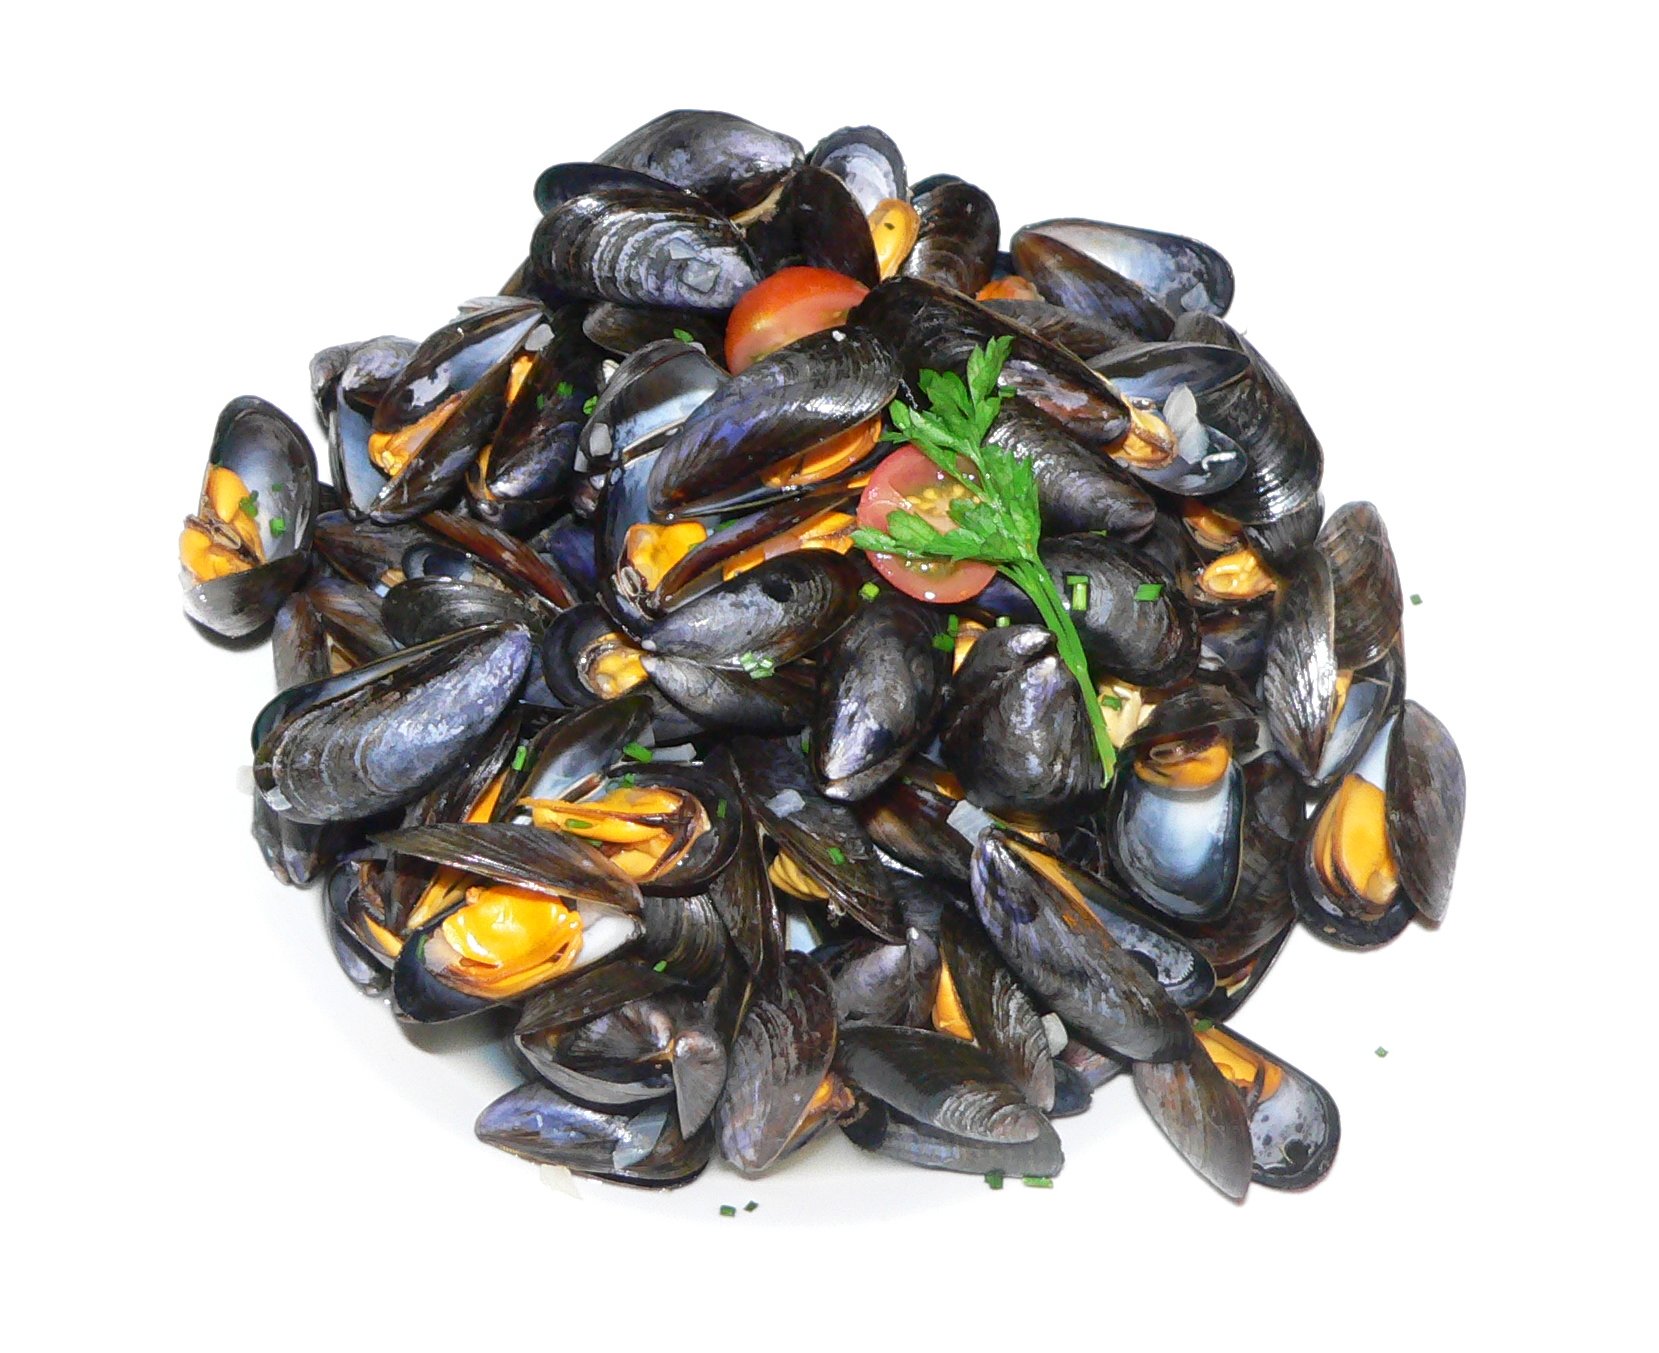
Fish
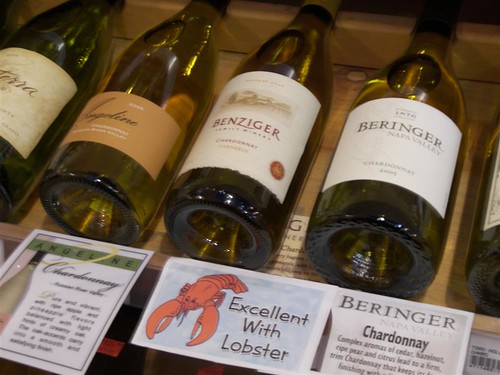
Delicate dishes should be served with light wines such as Sancerre, Pinot Grigio and Muscadet, while richer-sauced fish would work well with white Burgundy. Oily fish such as mackerel is good with Muscadet or Sancerre, and meatier fish such as salmon, oysters and lobsters all have a natural (and costly) affinity with Champagne.

image source

Salads
Vinegar-based dressings make salads hard to match with wine but try light rosés or citrusy whites such as Sancerre and Pinot Grigio.
Puddings
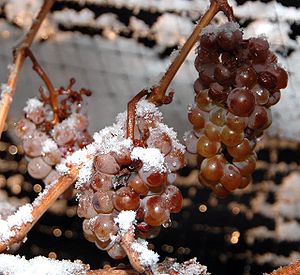
Always serve wines that are sweeter than the food. For rich chocolatey puddings and fruitcakes try a Madeira, and for light fruit or creamy puddings an Orange Muscat or Sauternes.

 © 2010 Athena Goodlight

Protected by Copyscape Original Content Check

Mussels Recipe: How To Cook Moules Mariniere

image via Wikipedia
 If you enjoy seafood, particularly shellfish here's a comforting and classic dish – Moules Mariniere. The recipe, shared by Steve Sudbury was one he learnt from a chef whilst living in Lower Normandy, France – is simple, quick and delicious. Enjoy!

Get recipe: How To Cook Moules Mariniere


How to Dry Your Own Herbs

Drying herbs is not a difficult task to do. Whether you plan to dry your herb harvest from your own garden or leftover herbs bought from the store, this is an easy and cheap method.
image source
Drying herbs is not a difficult task to do.  Whether you plan to dry your herb harvest from your own garden or leftover herbs bought from the store, this is an easy and cheap method.
Tie five or six sprigs together at the stem ends.  If you are drying basil or mint, make sure to give enough space between the leaves to prevent mold growth.

image source
To dry, hang these bunches upside down in a warm and airy place away from sunlight.  Doing this will retain the herbs’ flavor best.
If you live in a dusty and dry climate, get a paper bag and cut lots of holes into it.  Then place the herb bunch with the stem ends up.  Secure the bag with a string or rubber band then hang.
In two to four weeks, the leaves are dry and ready.  They should break apart easily in your fingers.  Place them in an airtight jar.  These are ready to use; just crumble them when needed.  These herbs will keep for about a year.


image source
To learn more about storing herbs read this:   Tips for Storing Herbs and Spices